The Production Process
Every piece of jewelry carries a unique story.
At BunnyBaily, we craft each step of the process with care and precision — from design and material selection to the final polish — bringing your story to life through thoughtful craftsmanship.
Stage 1: Casting
First, we take the wax mold you want to print as the initial shape of the ring.
Then, a plaster-like material called a “fusible mold” is poured into the mold, encasing the wax completely, allowing it to dry and set into shape.
The mold is then heated in a high temperature oven, where the wax melts and flows out, leaving a fine impression that is uniquely yours.
Finally, we inject the molten metal into the cavity, and when it cools, the plaster shell is broken to remove the cast rough metal part.
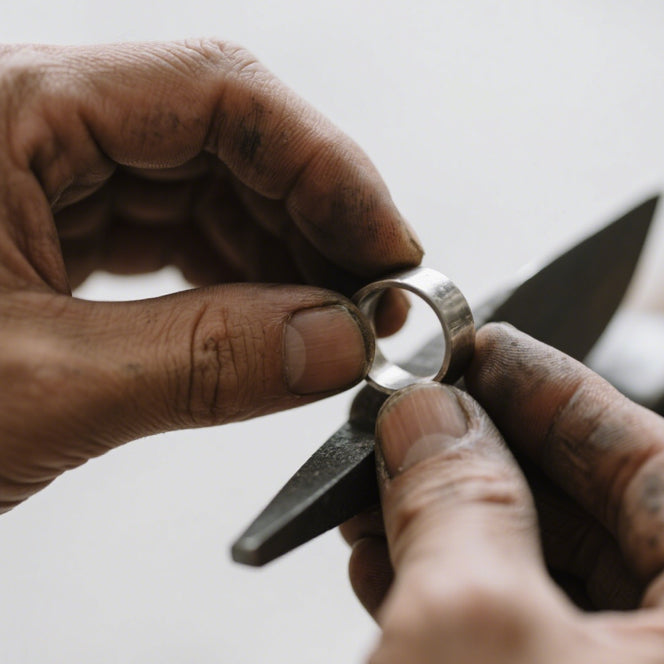
Stage 2: Roughing And Sanding
Cutting Sprues and Flying Edges: Use files or cutting tools to remove excess metal such as sprues and flying edges produced during casting.
Finishing sanding: Utilizing polishing machines, sandpaper, and sanding heads with multiple coarse and fine gears, the ring and band are smoothed and polished step by step to smooth the surface and restore the design shape.
Stage 3: Inlay Preparation
Marking openings and settings: Mark the positions, prongs or slots of the main and matching diamonds accurately on the ring according to the design.
Reserve space and trimming: Use micro-drill or special milling cutter to enlarge and trim the diamonds to make them fit perfectly with the diamond facets and girdle prongs.
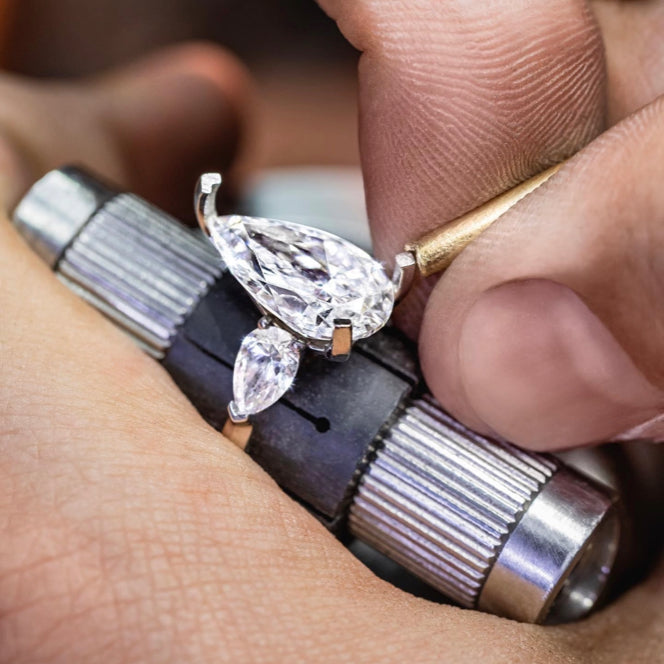
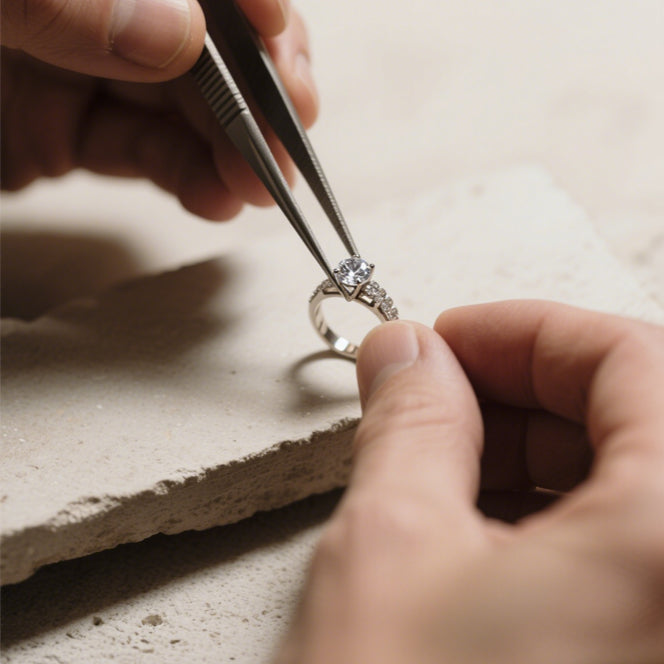
Stage 4: Diamond Mosaic
Main Stone Setting: Place the main diamond precisely in the center of the band, fine-tune the position, and then gently clasp the prongs with a stone-setting pliers or a stone-setting hammer to hold the diamond securely in place. Ensure that the main stone is centered, level and secure.
Matching diamond setting: Insert small diamonds into the reserved holes according to the design, and tightly fix them by micro-setting or pave-setting.
Polishing and polishing: Polishing the claws to make them fit smoothly and polishing the whole piece to enhance the luster and texture.
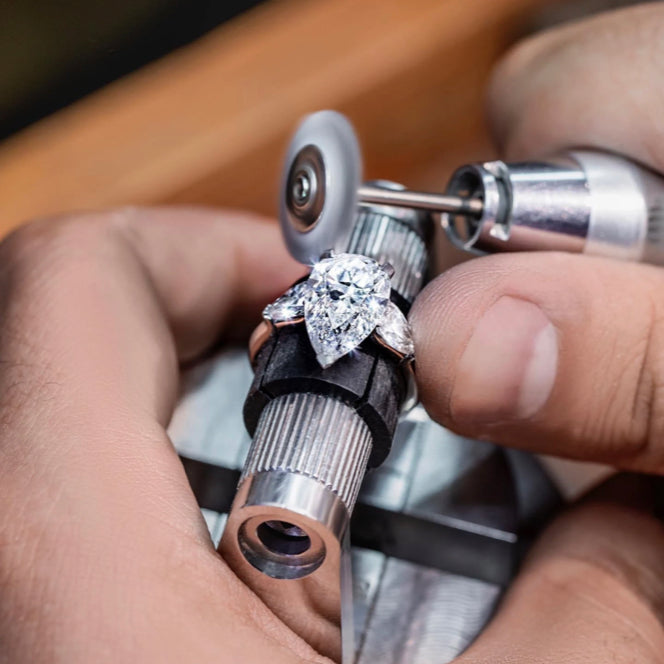
Stage 5: Surface Polishing And Plating
Overall polishing: With the help of polishing wheels, polishing creams, etc., the ring is polished to a mirror-like luster, removing polishing marks and scratches to give the metal surface a new look.
Electroplating treatment: If you need to make two-color gold or higher surface strength, you can carry out chlorination or rhodium plating treatment (white gold needs to be plated with rhodium to enhance the whiteness), to enhance the metal's wear-resistant and anti-oxidation properties
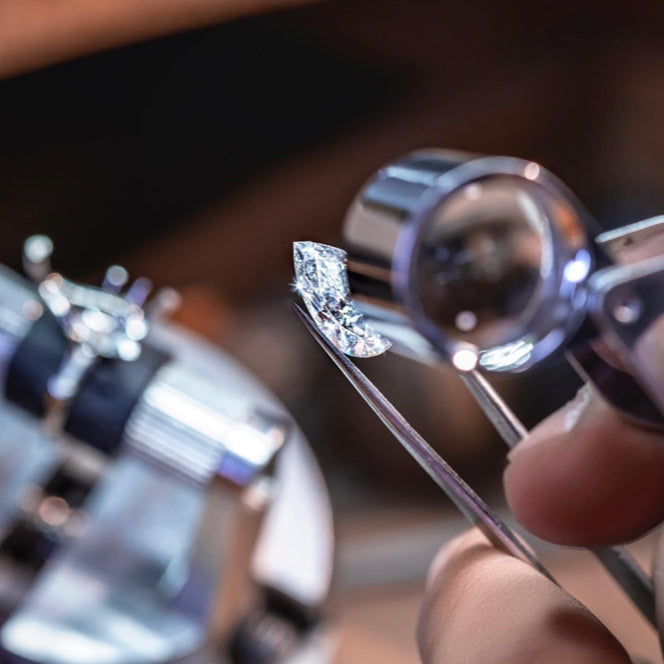
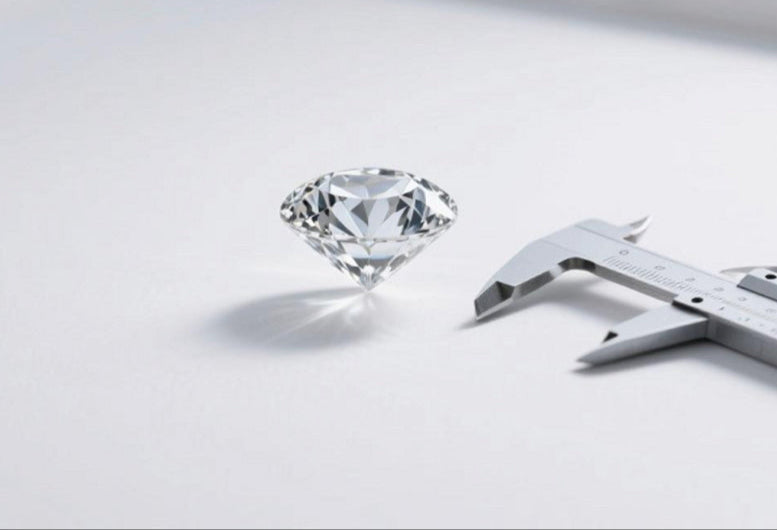
Stage 6: Quality Inspection
Visual and Magnifying Glass Inspection: 8×~10× magnifying glass inspection of the overall appearance of the ring to confirm that the diamond is not loose, warped claws, no breakage of the facets, and no obvious scratches or blemishes on the ring.
Professional Instrument Inspection: Use electronic scale to measure the total weight and compare it with the design requirements; use colorimeter and clarity mirror to confirm the diamond grade; tensile test to ensure the safety of wearing.
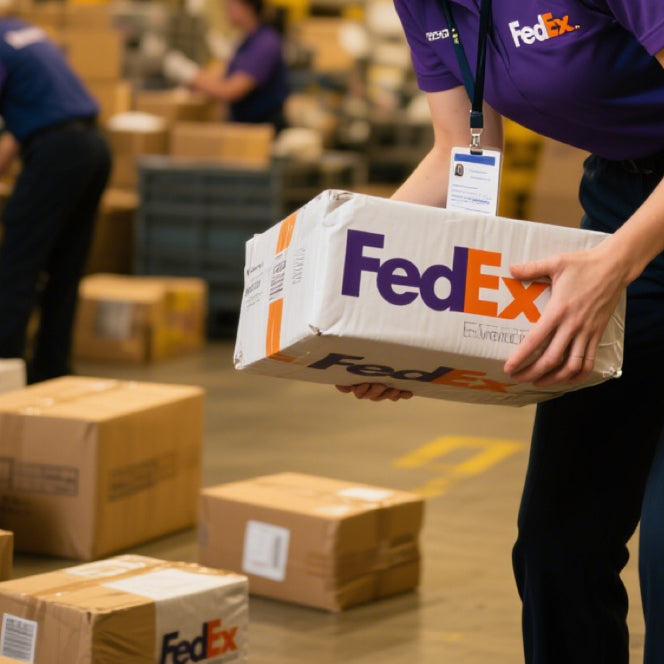
Stage 7: Cleaning Packaging Shipping
Ultrasonic Cleaning: Immerse the ring in an ultrasonic cleaner to remove polishing residue and fingerprints from the surface and restore the sparkle.
Polishing Cloth Wipe: Use a clean polishing cloth to give the ring and diamond surface a final wipe to ensure there is no dust or water marks.
Final Quality Check: Check again that the customized parameters of the ring (metal material, carat number, size) are consistent with the order, and ship the ring to the customer after confirming that there are no errors.